Our Little Buddy-much loved and still missed.

Our Little Buddy-much loved and still missed.
"RESCUED" is my favorite breed oh, and Dachshunds!

Monday, February 27, 2012

Birdhouse

I finally did it.  I went to SVG Cuts and bought the birdhouse patterns.  I made the first one and I think it came out pretty well.

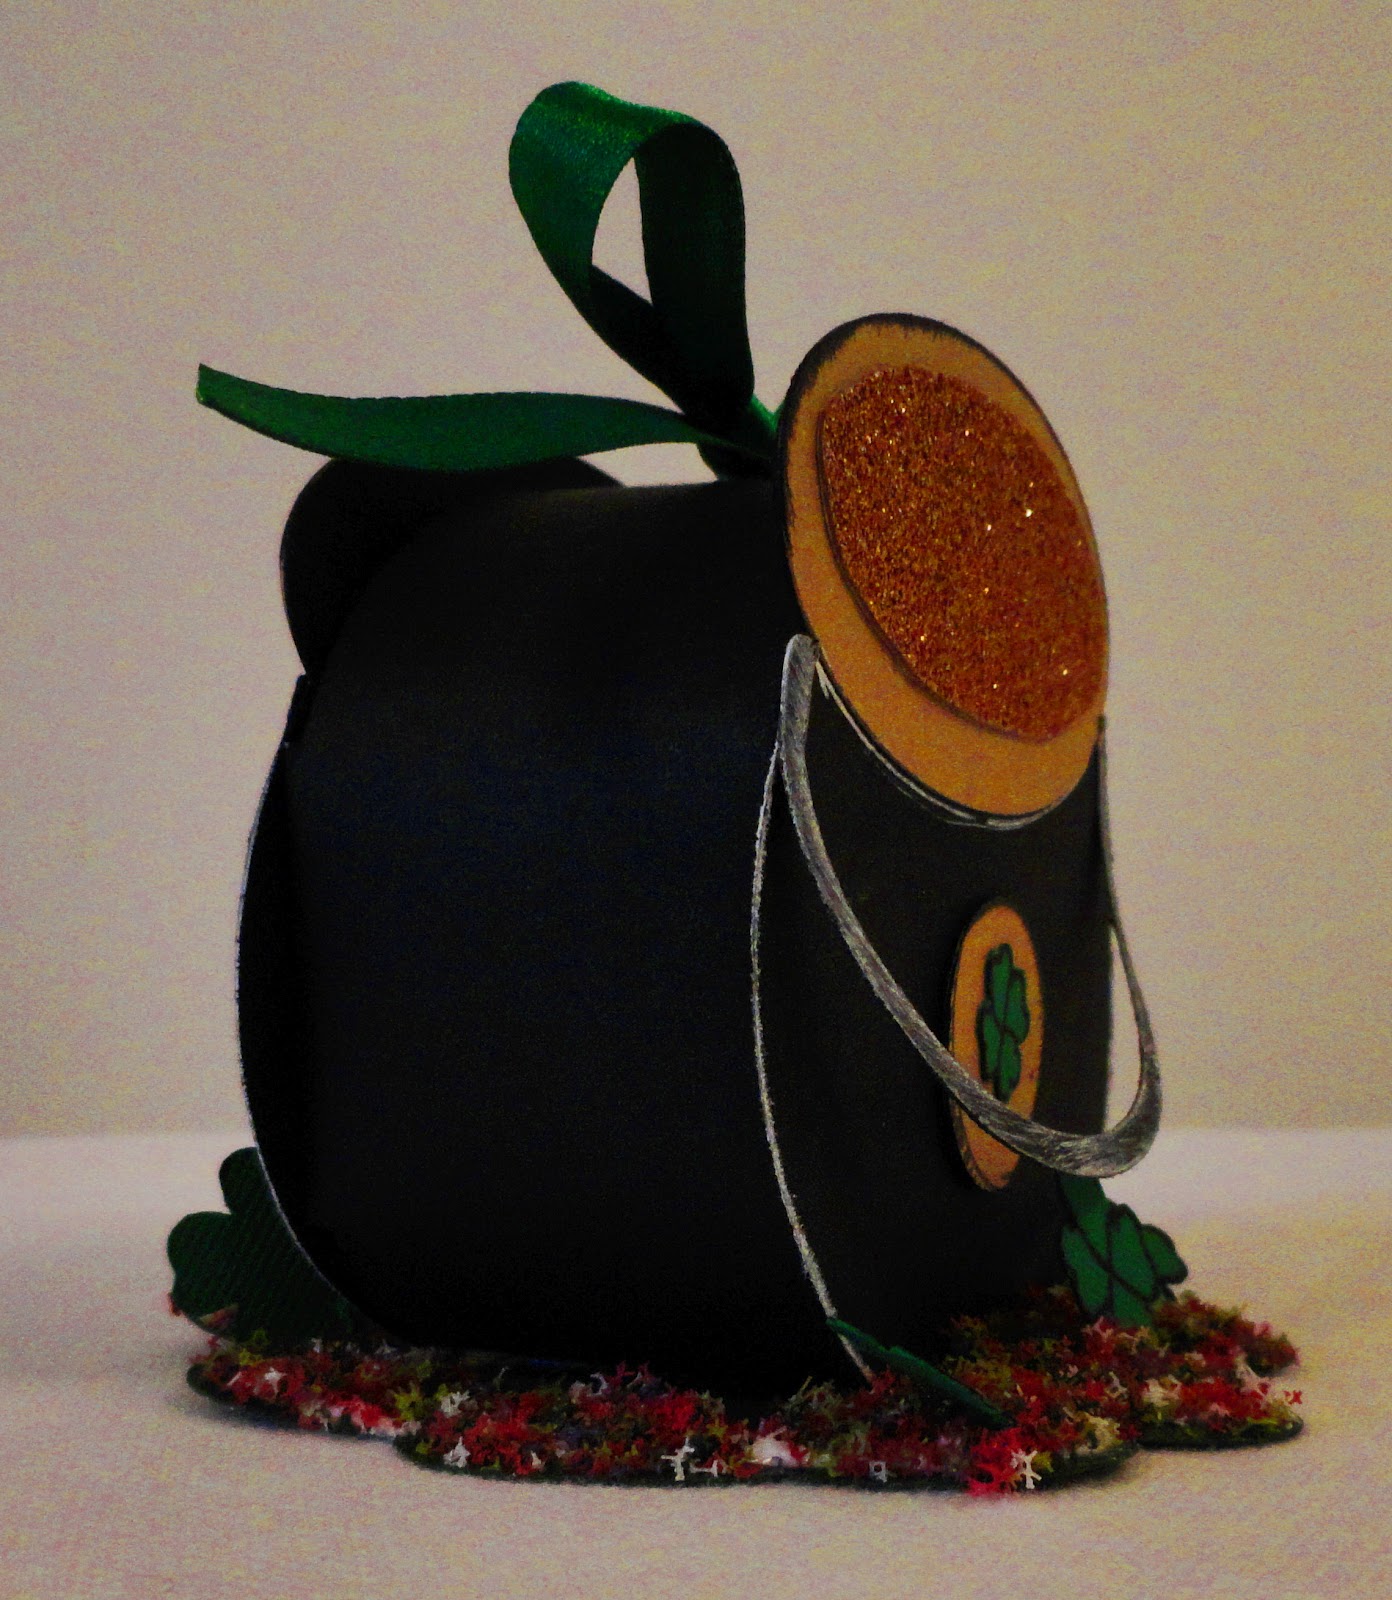
For some reason I have always been fascinated by these patterns.  I think I will have some fun with these.  This is a taller box and will hold a lot of candy.   I was downloading the picture of the bird house and just had a random thought run through my head.  Am I the only one who does not safely eject their camera from the computer?  I was going to do it, but my wireless mouse is in the craft room and I am in the recliner.  I tried to get it to work but after 3 tries I just yanked the cord out.  Nothing has ever really happened.  Crafty Neighbor Barb and I had this very conversation once.  I don't know that we really come to any conclusions.  I wonder what really can happen?

The camera never stops working, new pictures get uploaded just fine.  Why it kind of feels like I am running with scissors when I unsafely eject the camera.  I always wanted a sweatshirt that says "runs with scissors."  Growing up if you didn't walk with them pointed down at my house it was certain death.  Like when Mom saw you and yelled W-A-L-K with those!!  Walking fast with the pointed end up?  No one ever wanted to get caught doing that.  As an adult, it was fun to hold those suckers pointed end up and run, just for fun, if one was feeling especially brave run by the door of the room Mom was in.     Maybe I will switch to "unsafely ejects camera's." sweatshirt.  I could tell the kids, "Hey watch this!"  "I am UN-SAFELY ejecting my camera."  There might be a sudden intake of breath from them as I yanked out the cord, and not by the plug either.  Yep, by the middle of the cord, tempting fate even more by the possibility of leaving the plug part stuck it the laptop when the cord broke.  (remember hearing that one?) 

Well since the curiosity is killing me I will call my son the computer guy and ask what might happen for real.  If you like the birdhouse as much as me, it is worth the tiny investment for all the fun.  I will post the other pictures of what I am making with the patterns as I get them done.  Until then......I will be yanking the cords out smiling.  Unsafely of course.

Happy Crafting!!

Sunday, February 26, 2012

Pot of Gold Box

Ok, here is the second attempt at the "Pot of Gold Box!"  I had another one on here and didn't like it, so POOF! Away it went.  Here is a pic of the box I do like.
Now who would not want a cute little box like this with some candy or something else in it?   Money?  I think some hundred dollar bills would be nice in there.  The finished size is appx. 3 x 3 1/2.  I used some flower soft(you know the stuff that seems to sit in the drawer forever unused) on the piece at the bottom and glued some shamrocks to it.  The handle is only attached at the top so it looks like it is hanging off the pot.  Here is a quickie tutorial.
Get the free SVG here.
I also have one in SCUT2

When you cut the files, I broke them apart and cut the smaller circles (one fits on top of another) in two different colors,  gold and glitter gold.  Then I glued it on the pattern before I put it together. 
Next flip the box over so you are working on what will be the inside of the box and fold on the lines shown.
I used red sticky tape to put on all 4 tabs.  It is much more secure if you use this kind of tape.
Fold the sides up and secure them.  You might want to do some trial fittings before you stick them down,  Once they are stuck...well you know.  The  long pointed part needs to be folded to elongate the part that will go into the slit.  The folds also help keep it shut.
Shut the box and take the handle part and attach it only at the top with some glue.  I cut a wavy circle out and marked where I wanted the box to sit and then put flower soft around that area.  I cut some small shamrocks out and put them in the flowersoft.  I bet it's been a year or more since I used that darn stuff.  It's one of those things you just "have" to have and then don't use. 
Here is a side view of it finished. 

You don't have to put it on a base, it stands fine by itself.  I just like that look.  Hope you have some fun making these.  They don't take long to whip up.  Now to see if anyone will put some hundreds in my little box.  I think I will leave the lid open slightly and have a little sign that says "insert hundred dollar bills here."   Ok, I really need to snap out of it.....my family would stick something in there that says, "dream on" and then say they thought it was a tiny little suggestion box. 

Happy Crafting!

Saturday, February 18, 2012

Collections

Ok, I found out something interesting today.  Did you know people collect old cloth diapers?  Diapers??  I have a friend who put some on eBay so I checked it out after she told me about it. There was a listing for "mint" condition curity diapers that brought over hundred dollars!  Really??  I checked it out further and found a unopened plastic pack of size 3/4 Pampers circa 1984 that sold for $182.00.  WHAT???  What on earth are people doing with old pampers?  What do they do with cloth diapers?  OMG!! I just remembered that I HAVE some old cloth one's from the 1970's!   I kinda got the shakes when I remembered that.   Blankets were flying out of the closet and on to the floor, my arms were whirring like a windmill.  I know they are in the closet somewhere.  Eureka!  There they are!  Some even still have the curity stamp on them.  They are kinda yellow so I will see if I can make them white before I list them.  I kept them for dust rags originally,  but man am I glad I didn't use them for that now. 

Next, I am looking for the opened but never used sample of an original vintage pull up circa early 80's.  That surely is like a salesman's sample from the past.  Yeah, it might really be worth something.   I kept them in case a kid that size came to the house and needed them.  Gee, maybe I should keep that for the Antiques Road Show.  What to do, what to do.  Nah....gotta sell it.    Pampers could become like gold coins.   You could barter with them.  I'll trade you this cool 88 pamper for that really nice paper pack from Hobby Lobby.   Maybe I should buy a couple of cases of pampers and store them.  When I die it could be the kid's windfall.  How about that kids?  Mom died and left you some pampers!  Oh yes, go ahead and laugh.  That lady on eBay is laughing all the way to the bank.  She probably works for a TV cable channel and helps with that hoarders show.   Yep, she probably pulled them out of a house somewhere.   Ok, guess I better get back to work on the cute little candy box I am making for St. Patty's day.  I will post it when I get done.   It's a pot of gold.  Keep your eyes open for nice old diapers.  You could be making some bank on eBay! 

Hope crafty neighbor Barb is having fun at her big scrapping weekend.  Better be getting some good ideas together for us. 

Happy Crafting everyone!

Tuesday, February 14, 2012

Happy Valentines Day!

Gee the sun is shining brightly after a cloudy, windy and cold day yesterday.   The last several days have been windy, cold with off and on snow.  The temps came up above freezing yesterday so most of the fine snow is gone now except for the small drifts.  I made a "special" Hershey bar wrapper for my Husband's Valentines gift and then did some more for a few friends.  Hey Crafty Neighbor Barb!  We are so selling some of these next year.  Everyone who has seen these likes them.  Here is the one I gave my hubby.

Here is the inside when you pull up the slider.
Ok now snoopy kids just pretend you didn't see this.  You know how I am so just chalk it up to who is doing this.  He thought it was pretty funny!  Well, actually I did too. True statement don't you think?  I saw a picture of a telephone card and decided to make an SVG of one so I could make my own. 

You can get the SVG here.   I made the phone cord by wrapping some small gauge floral wire around a stick and then attached it to the phone.  The SVG comes in several pieces.  The base is one, the little feet at the bottom is another.  The dial is one and the handset is the other one.  It's pretty simple and basic but has potential if you like to customize things.


The craft room is now officially the "crap" room and today is the day to restore order.  I can't see the top of the tables, paper scraps are all over the floor, and even the trash can is overflowing.  The old cat came in last night and had fun throwing paper pieces up in the air and pouncing on them.  Tisk, tisk. When the scissors are MIA so I know it's time to get serious.   Funny how that happens so fast.  My coffee pot is almost empty so it's time to get moving.  Hey BARB!  Start dreaming up some Easter Hersey Bar sliders.  We need to get busy on them.  Well maybe some St. Patty's  Day too. 

Happy Crafting Everyone!

Saturday, February 11, 2012

Strawberry Box

I was lurking on Split Coast today and ran across a "strawberry box" that was done by Lisa Young (blog- Add ink and stamp)  She used some stamping up dies and the big shot to make hers.  Check out her site for directions.  I made a similar looking pattern but made it a SVG and cut it out.  I like the way it ended up.  My flaps were not perfect, but it looked ok.

It is hard to tell in my pictures but the top strawberry part is embossed with swiss dots.  The brown is left plain.  I will do it a little differently next time.  I made a tag for it and it will go to preschool with Karson for the class party.  His teacher will get this one.  We also made butterfly suckers for the class.  It's a real challenge to craft with a 3 year old.  He wanted to eat all the candy, wanted to make the butterfly's fly all over the room and put heart stickers all over each butterfly.  He did like the cuttle bug, but tried to stick his fingers in it and roll the handle.  Uh...NO!!  He went from that to the really sharp scissors I keep for detail work.  We had a little discussion on chopped off fingers and he took some ribbon and was happy to wrap up his new McQueen car.  I wish things were always that easy.  When you get bored just get some ribbon and wrap something up.   Frankly I am too tired to be bored.  We were up at 6 am and went strong until 7pm.  He was talking one minute and fell asleep the next.  Just like I am going to be doing soon.  In my recliner, with my little dogs.  

Happy Crafting!

Sunday, February 5, 2012

Valentines Candy

Well Crafty Neighbor Barb was tied up all day today with the grand kids so I thought I would try out a few "ideas" I had for Hershey bar covers.  We had some left over candy bars from Christmas and were going to use them for Valentines Day, and Easter.  Here is what I came up with.
Here is what it looks like open
I used a paper flower I got in a grab bag and some $.99 cent foam accents that I found somewhere.
The next one, I took some heart shapes and welded them together using my Sure Cuts Alot program.  Then I put another heart in the center of them.  The lock and key is a SVG  from "Jennifer Collector of Hobbies" blog.  Thank you so much for sharing that!! 
Here it is open, you can't tell but the "key" stands up away from the lock.  The bottom hearts are embossed also.   The pictures don't make this look as good as this does for real.  Maybe if I had that $700.00 picture taking thing it would look better.  I will try to think up a way to justify buying that...
The last cover I did is this one.
I used Jennifer's SVG again and welded some smaller hearts together.  The larger heart is embossed, and applied with foam dimensionals to lift it away from the base for a 3-D look, and has some stickels on it.  Here is what it looks like open.
I think this last one is my favorite so far.  I took a strip of coordinating base paper and used it at the top of the candy bar, punched a hole in it and put the ribbon on.  To make the sleeve I used a sheet of paper 7 1/2 inches by 6 inches.  It is scored on the 6 inch side at 1 1/2 inches and 1 3/4 inches and again at 4 1/8 and 4 3/8th.  Fold the score lines well and make sure it is square.  When you glue the back seam make sure it is square before you secure it or the "box" will be lopsided.  If it is too long, you can trim the bottom.  If the sleeve is too loose, you can glue the bottom shut and the candy bar will not fall through.   Punch a hole in the top for some cute ribbon and you are all set.  I covered the inside chocolate bar with 1/2 sheet of printer paper.  You can print or stamp what ever you want on the inside.  I think a Victorian type cover would be cute too.  I may work on that one tomorrow.  I need Crafty Neighbor Barb to help create something new.   Ok, Barb work at your real job quickly tomorrow so we can play!  I would hate to show up at the City building pounding on the door like Sheldon on the Big Bang Theroy.  Barb...Barb...Barb....Barb....Barb....Barb....